Getting Started
GAS Retargeter was built for the purpose of natively retargeting the Game Animation Sample Animation Set/Controls including Character Blueprint, Animation Blueprint, Chooser Tables, Pose Search Databases etc.
Initial Setup
For the purposes of this tutorial. Let's create a brand new project from the Game Animation Sample Example Project from the Unreal Engine Marketplace.
- Open Epic Games Launcher and navigate to the Marketplace tab.
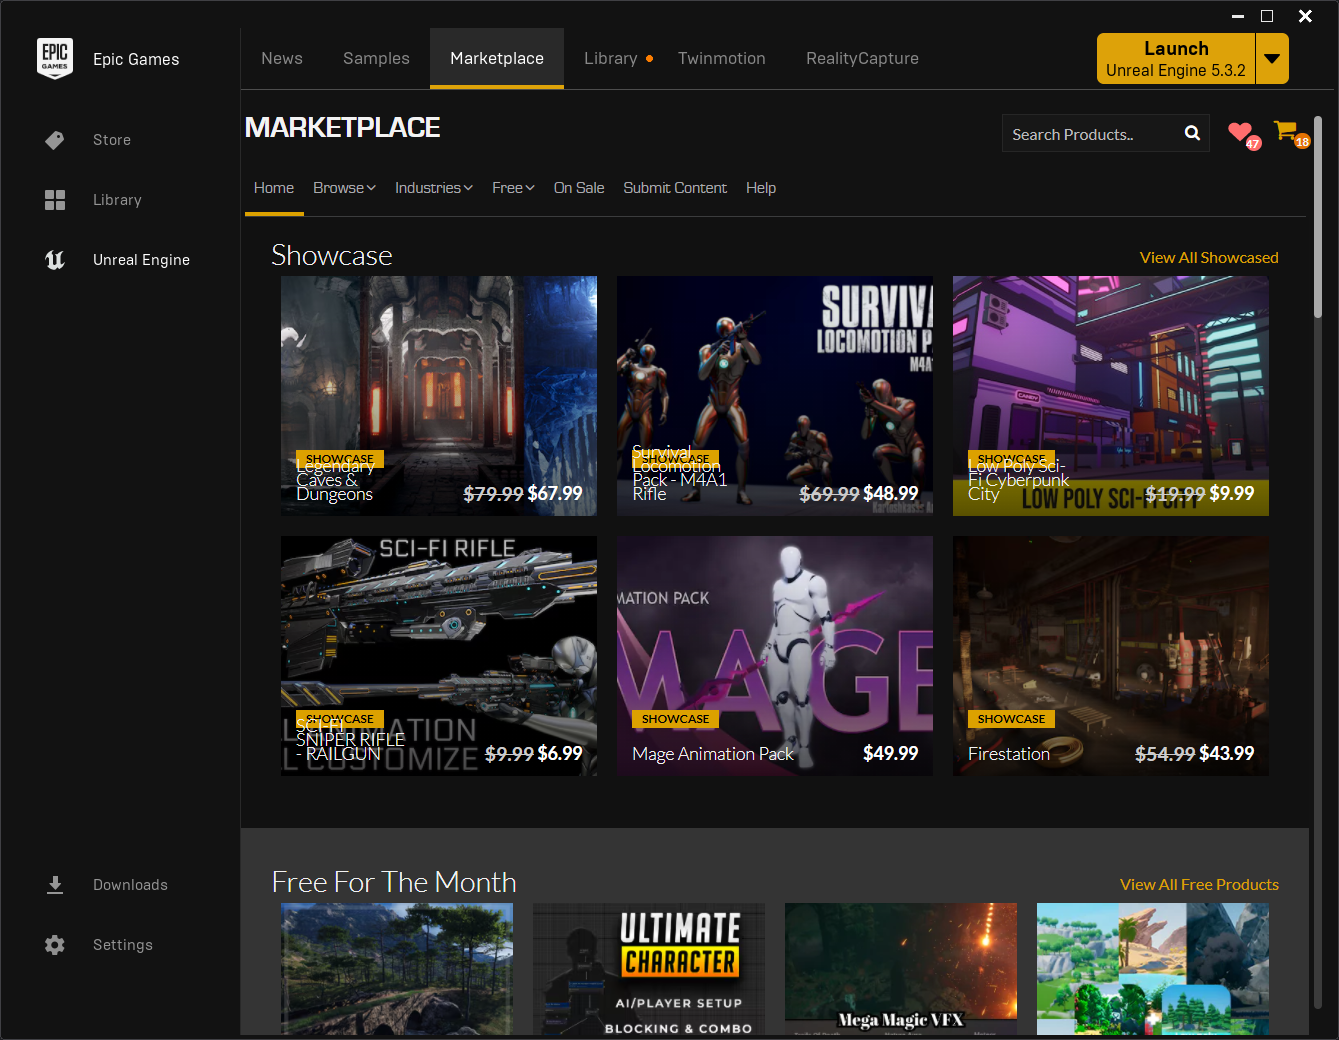
- Search for Game Animation Sample, and open the product page.

-
This asset is free. So acquire it, and after you've done so, the Create Project button will appear. Just follow the prompt to create a project.
-
Run the project you just created from the Library tab.
High Level Overview
Here's a high level overview of the retarget procedure:
- Find the Primary Character Blueprint named CBP_SandboxCharacter in the Blueprints folder of the root Content directory.
- Right click on the blueprint and select "Retarget GAS"
- Drag or Select your IKRetargeter or Skeletal Mesh that you'd like to use for the retarget.
- Click "Retarget"
- A folder selection dialog will then be created, select the folder where you'd like to store the retargeted assets.
- Click "Ok" and the retargeting process will begin.
Retargeting Steps
Here I'll walk you through your first retarget.
- When you first open the project it should look similar to this
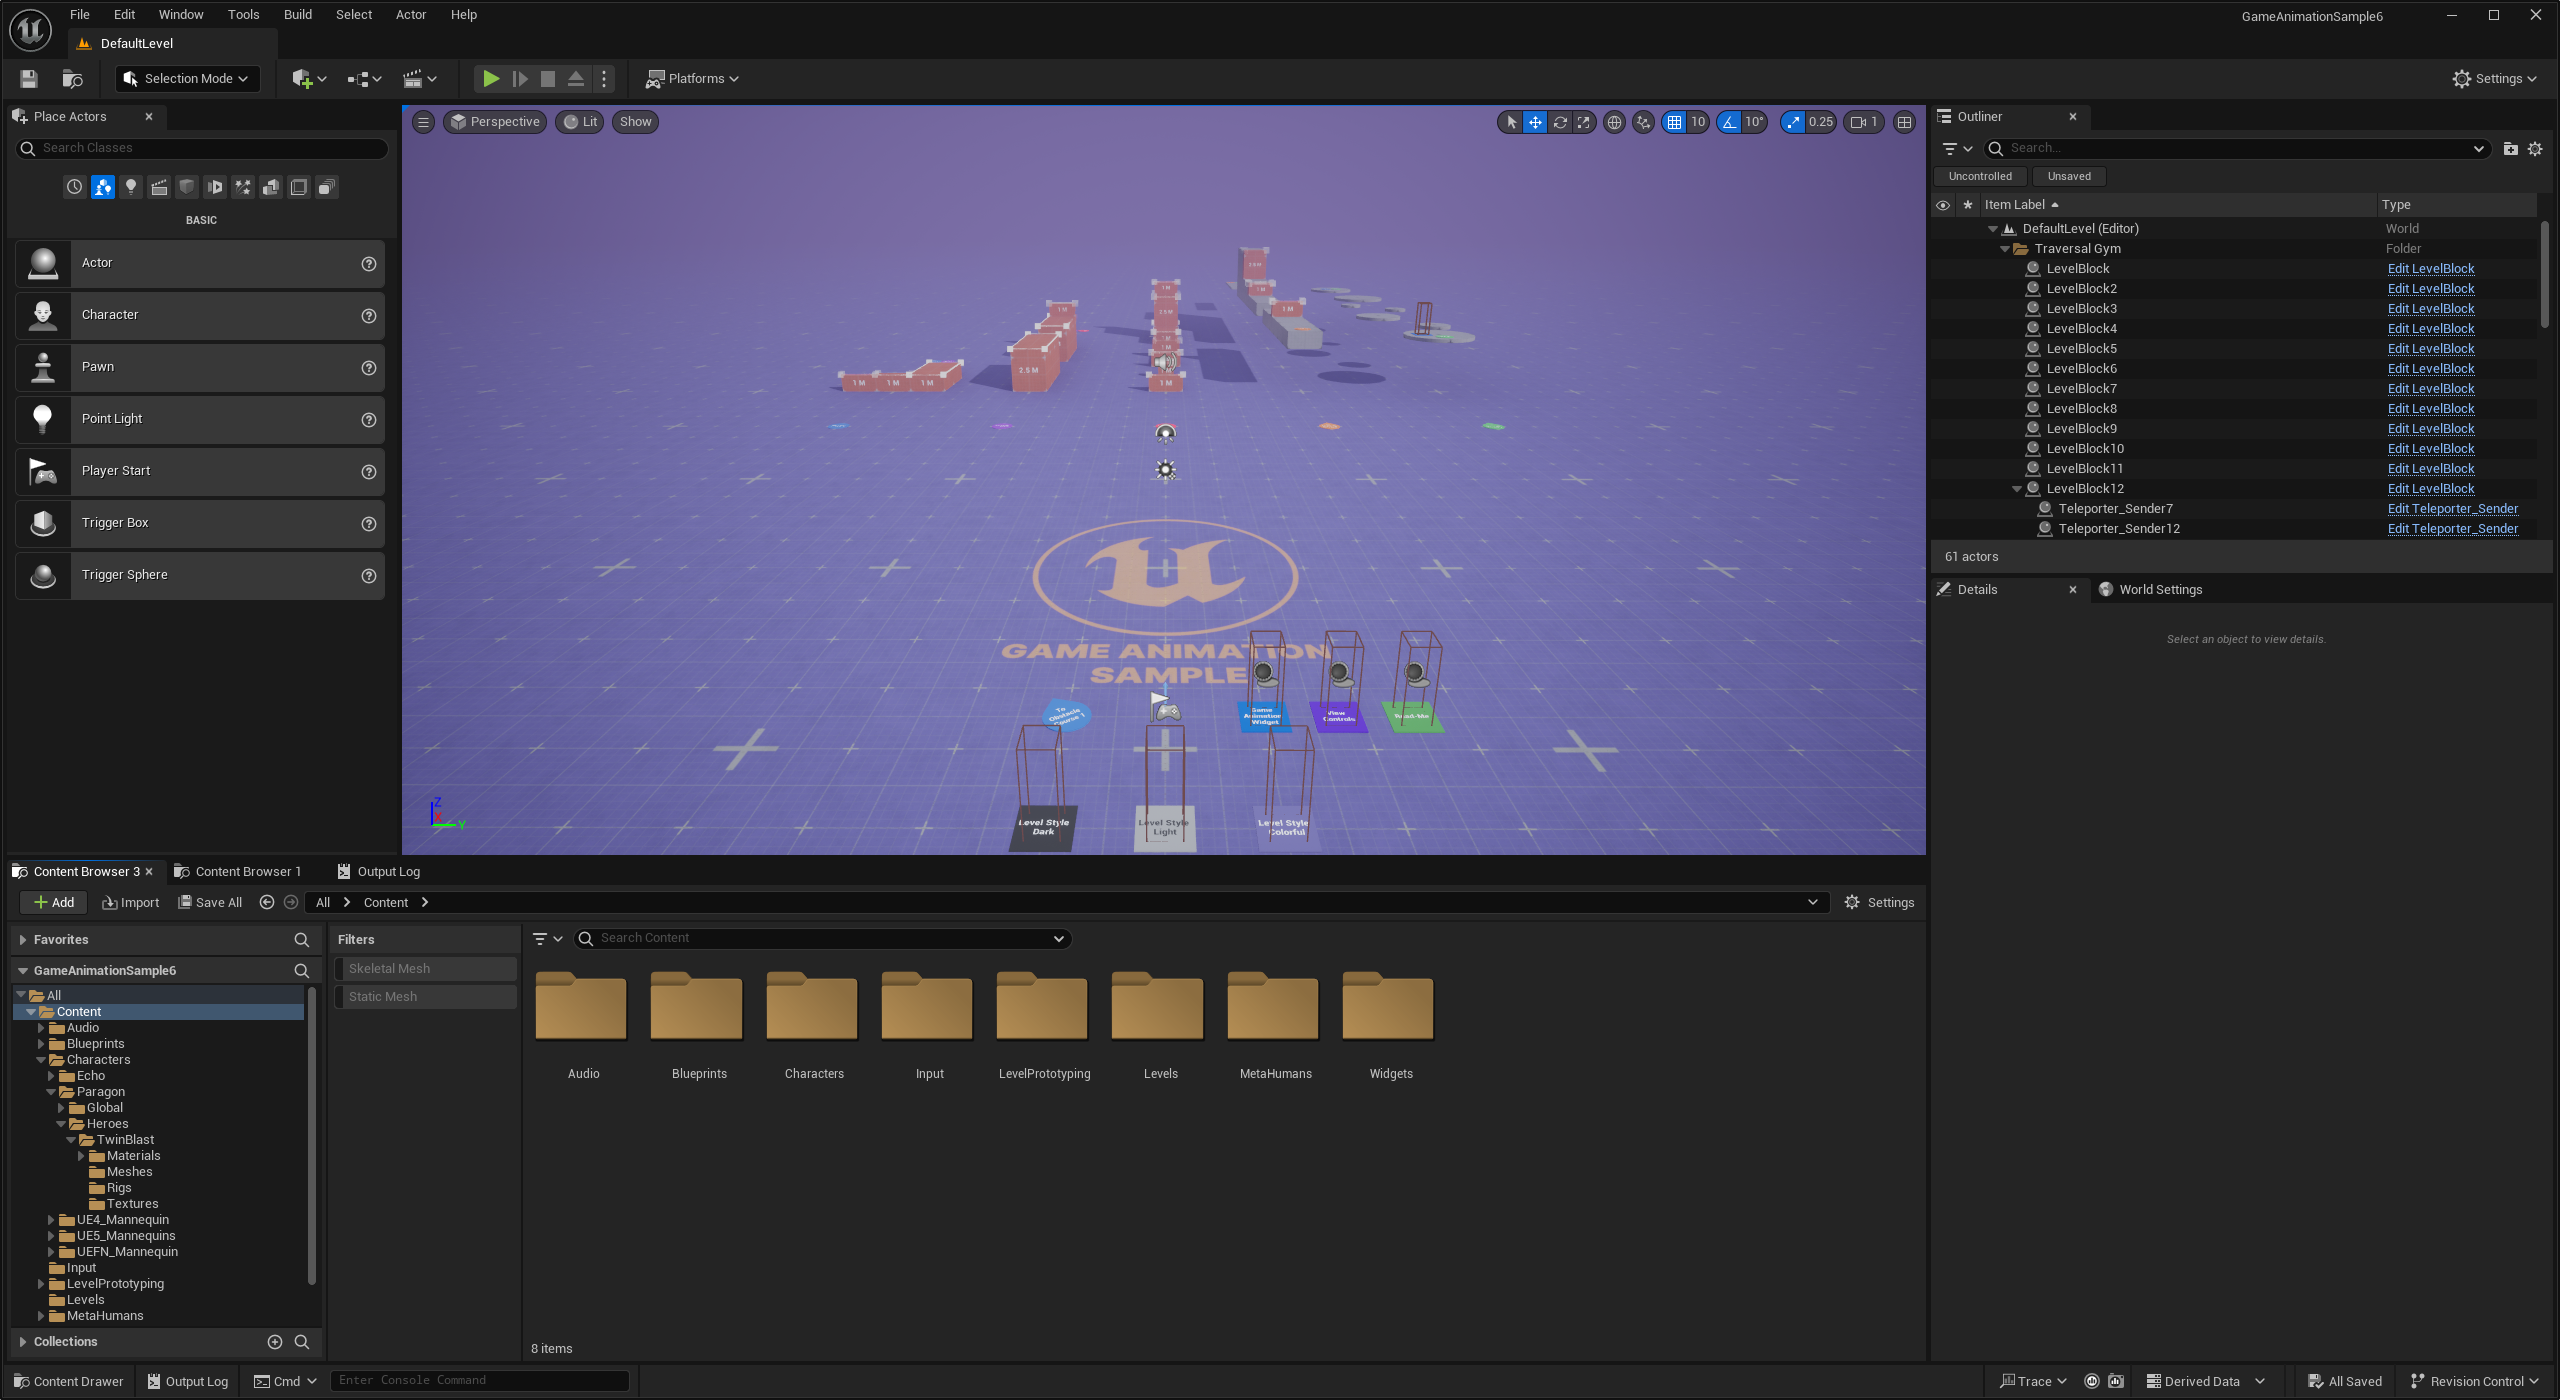
- Let's navigate to the Blueprints folder.
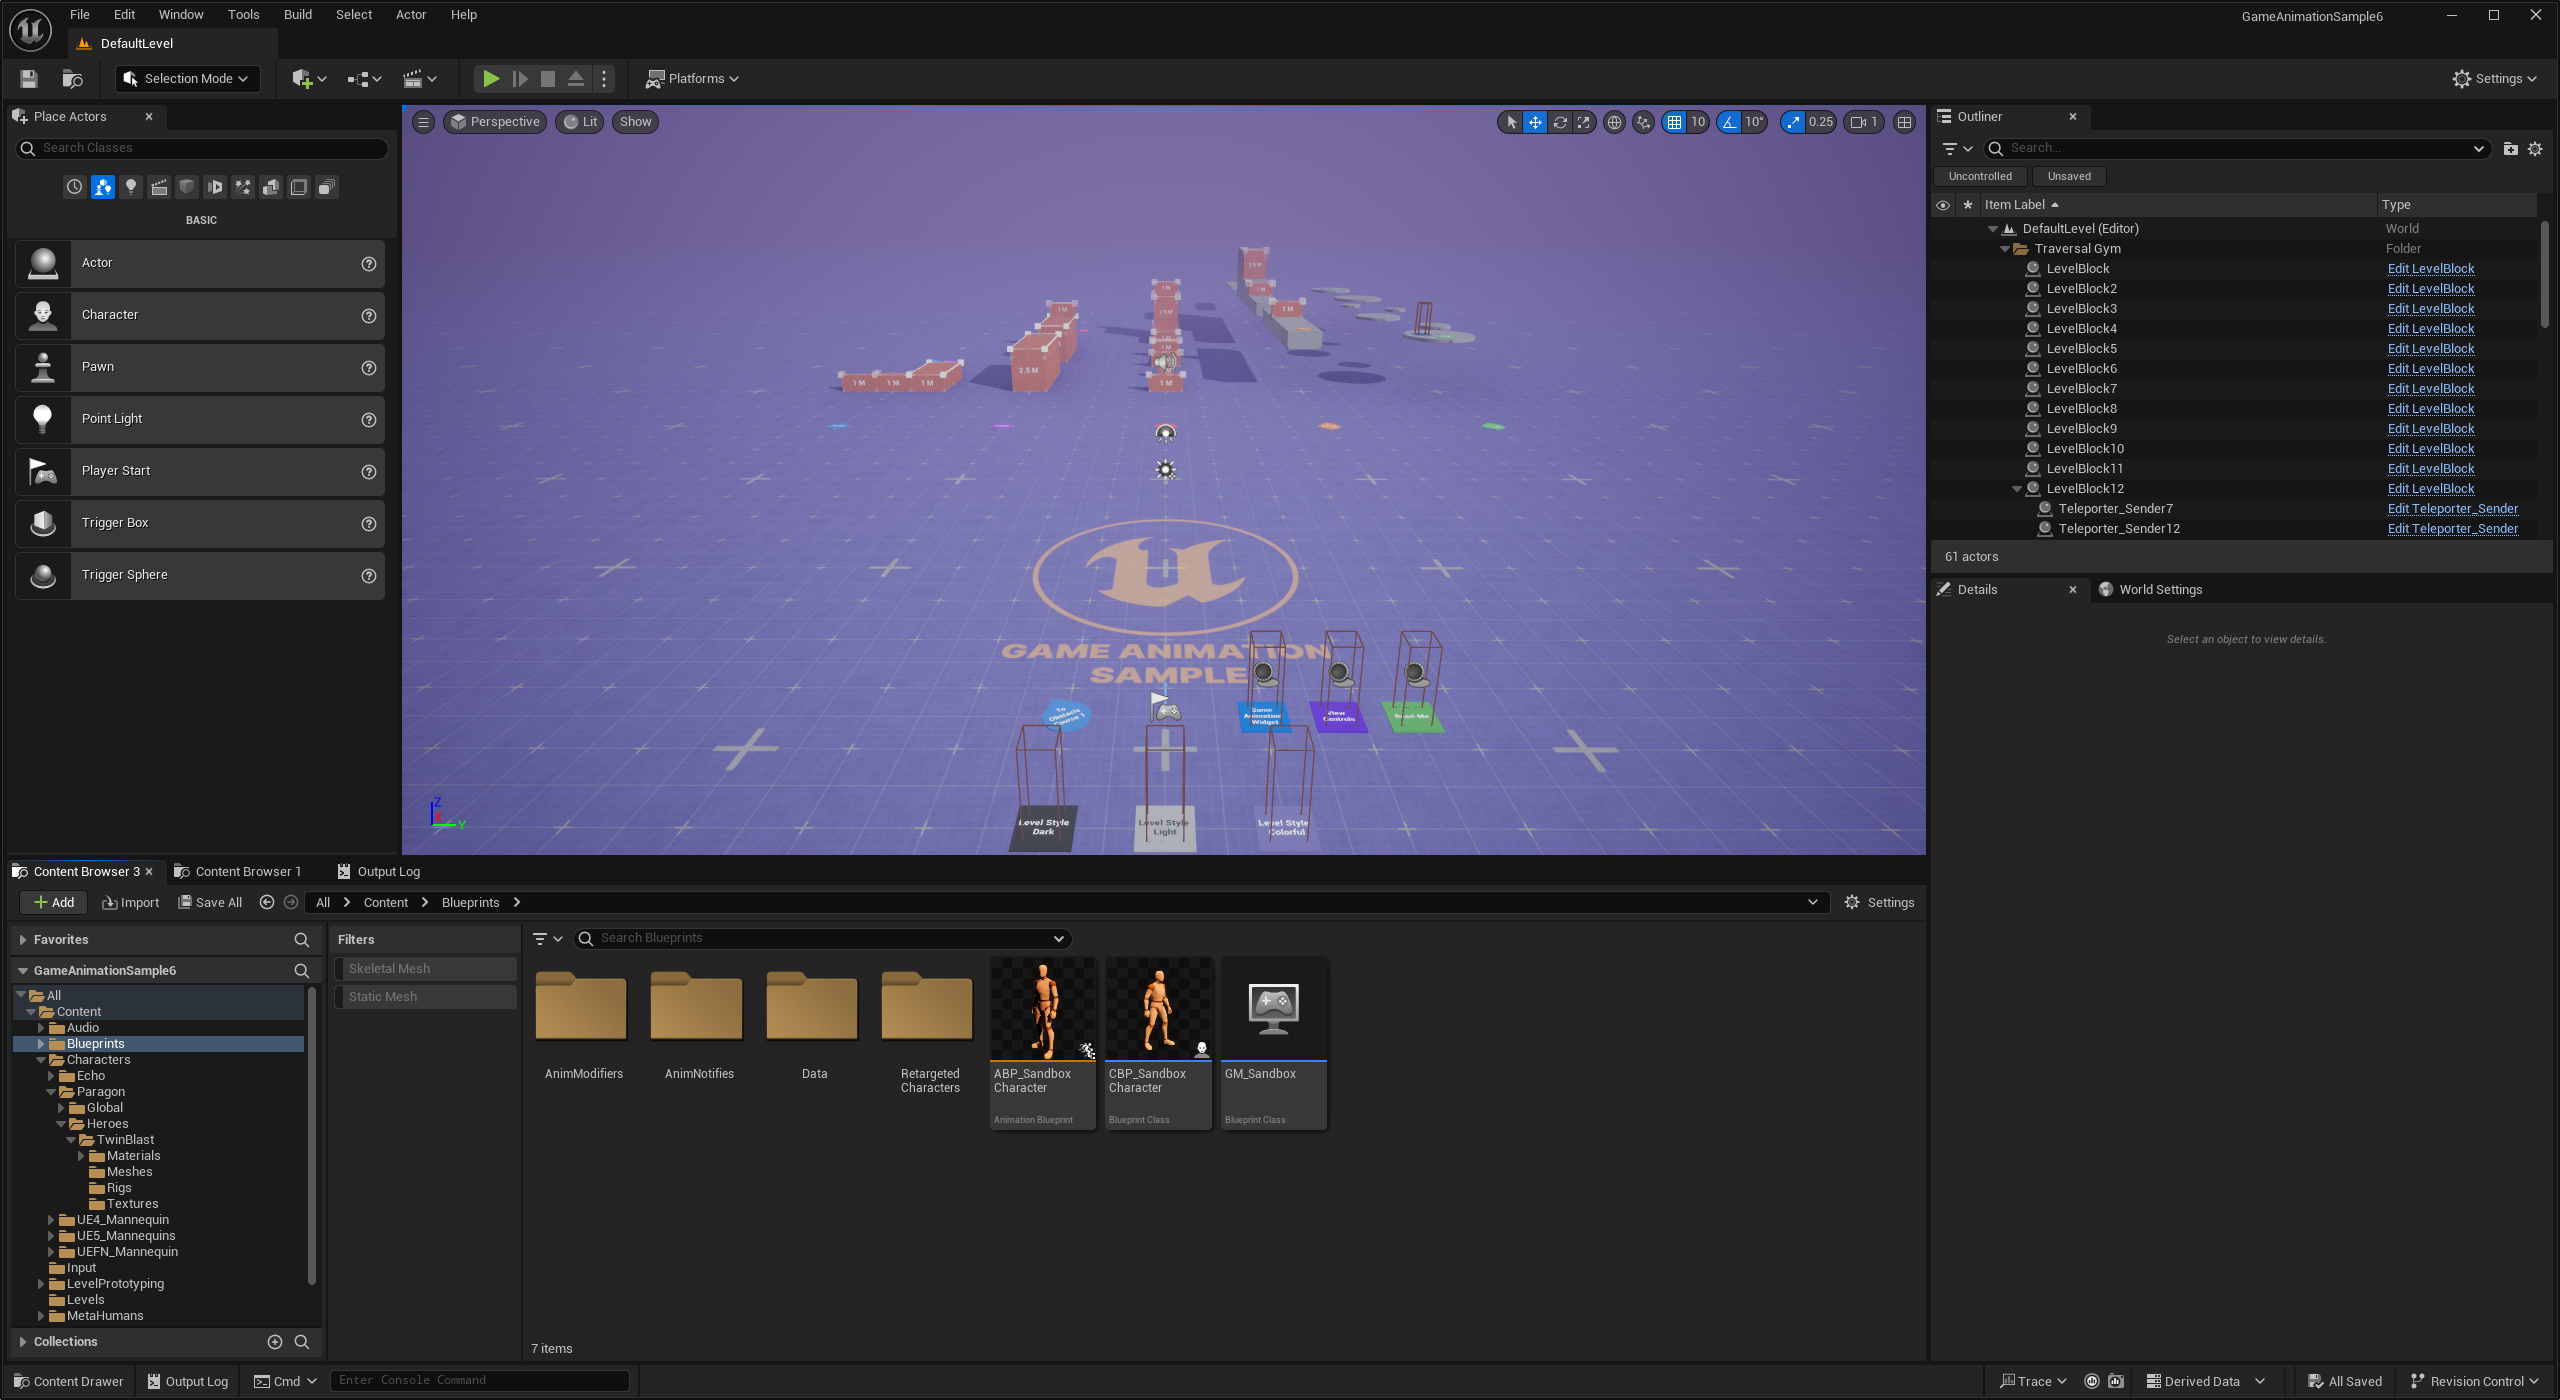
- Right click on the CBP_SandboxCharacter Blueprint here, and a menu will appear. Click "Retarget GAS"
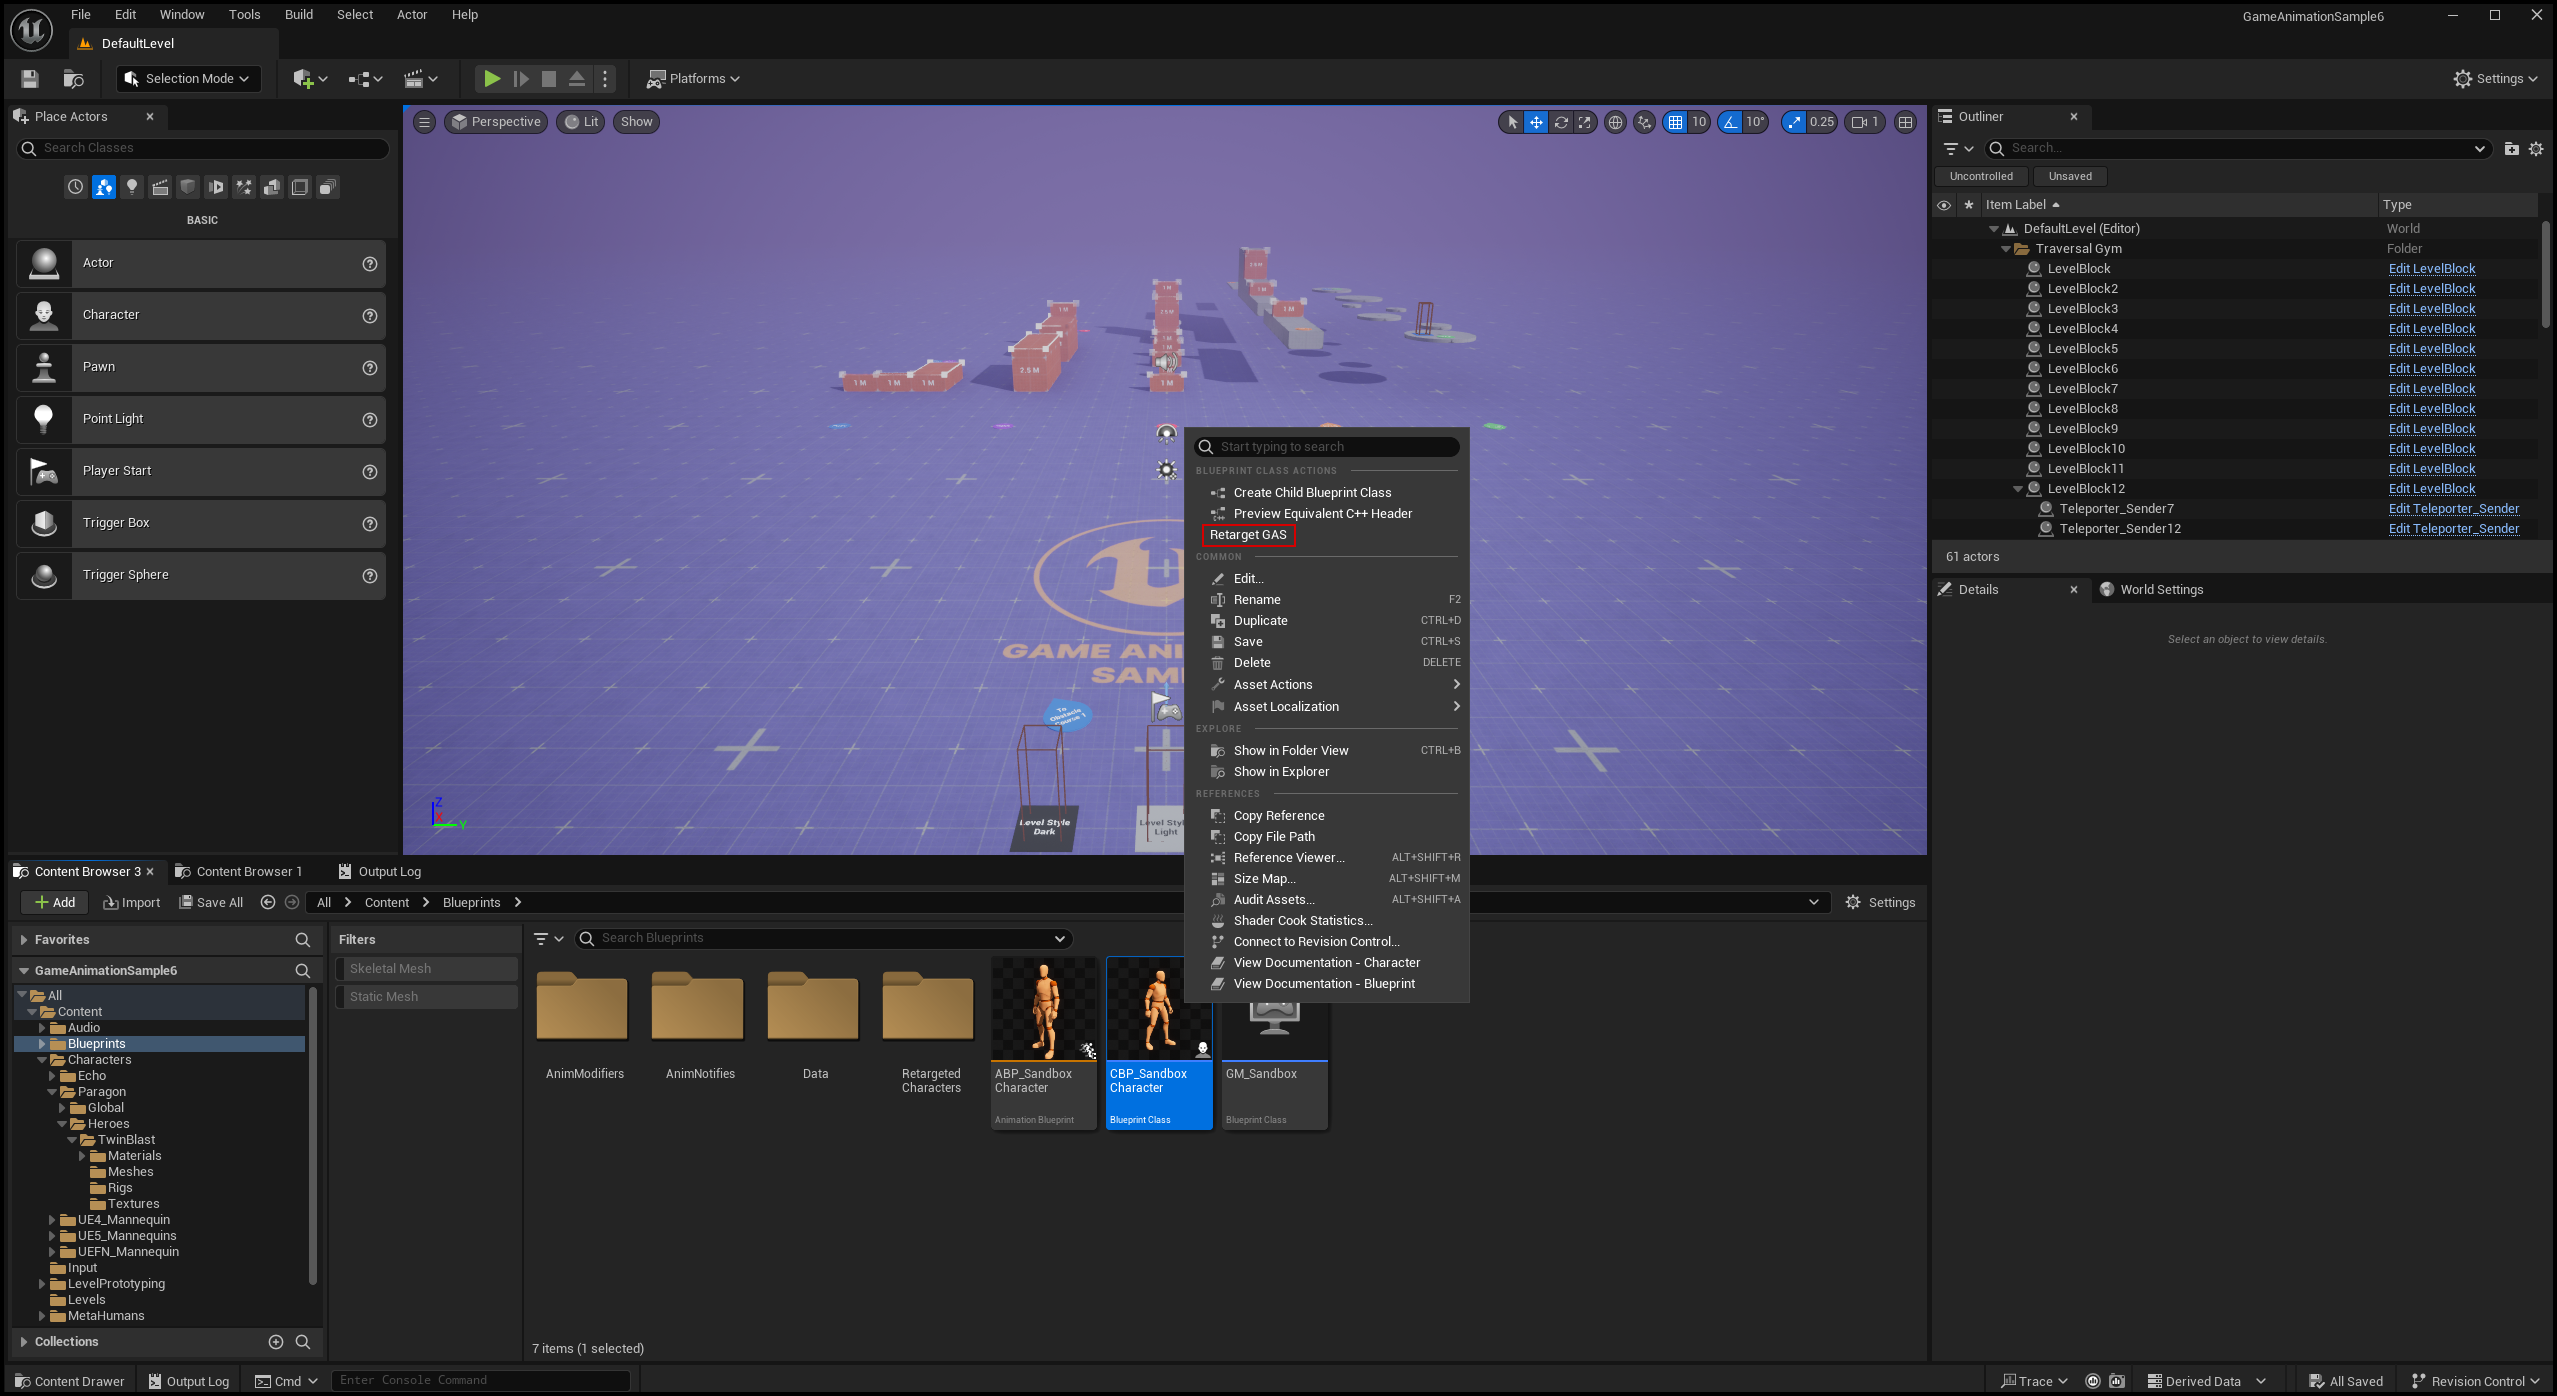
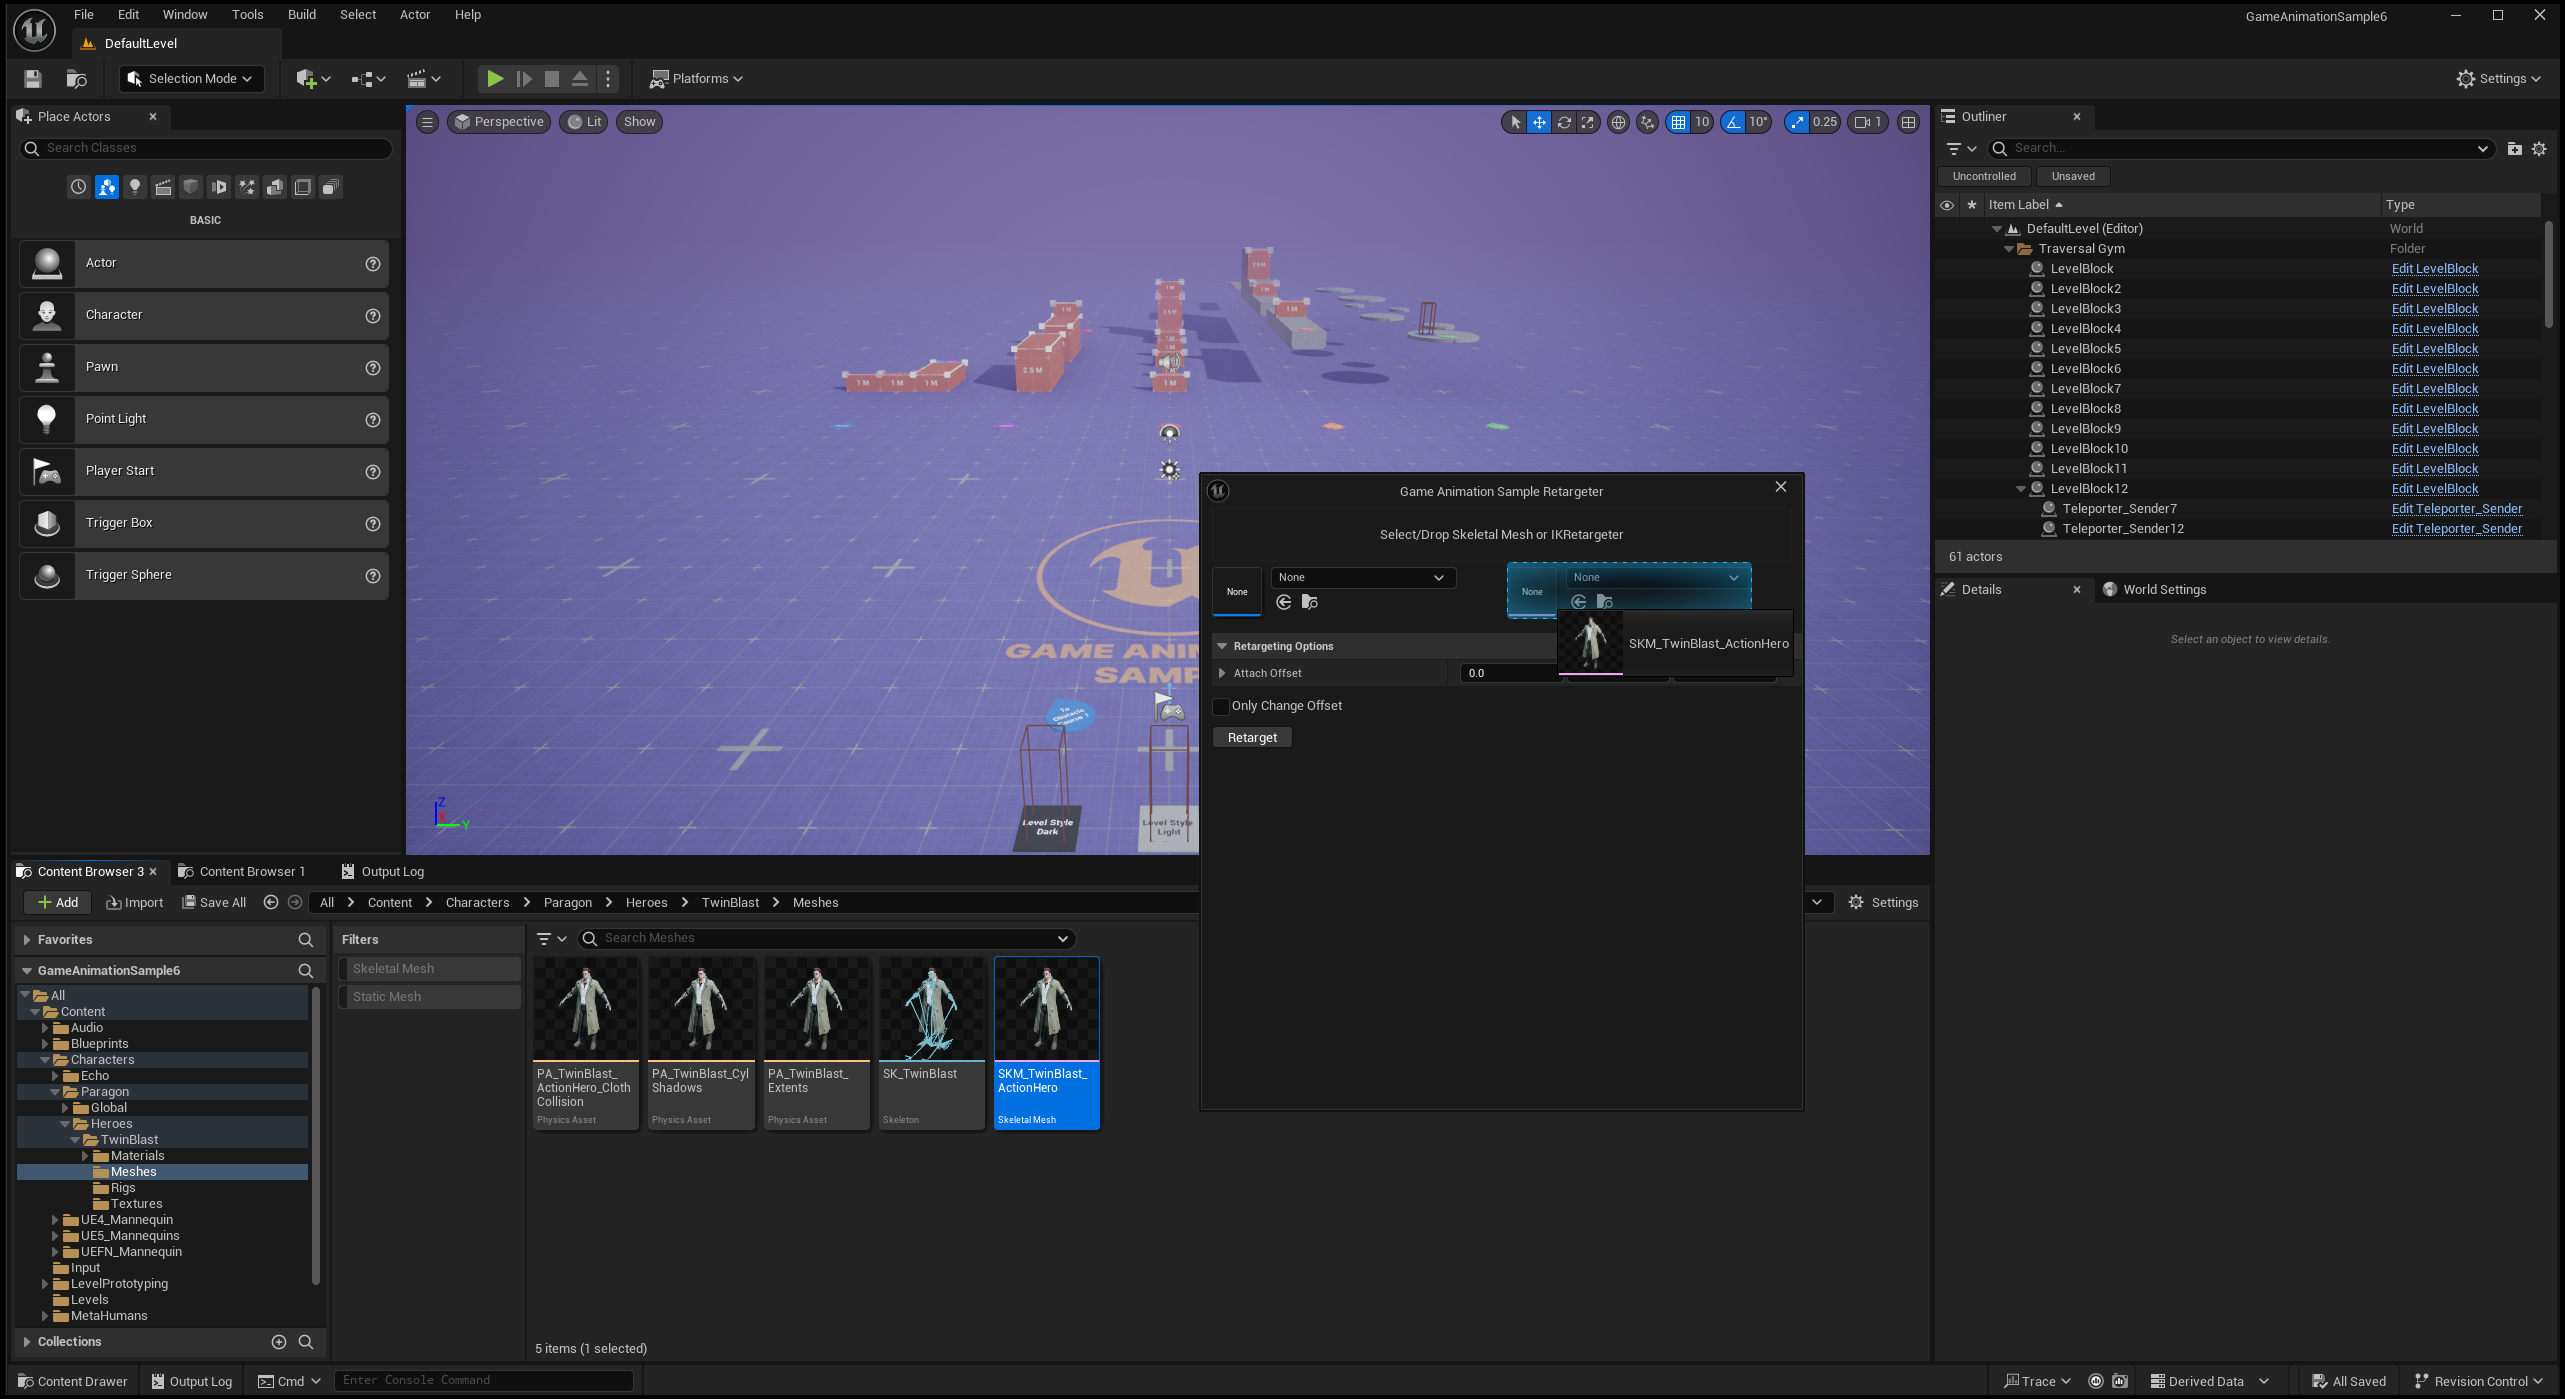
- A new window will appear, but let's move it slightly out of the way so we can find a mesh that we want to retarget.

- I'm going to use SKM_TwinBlast_ActionHero from Paragon that comes included in the Game Animation Sample project. So drag the asset to the Skeletal Mesh side and drop it on the Asset Selector. Then click "Retarget".
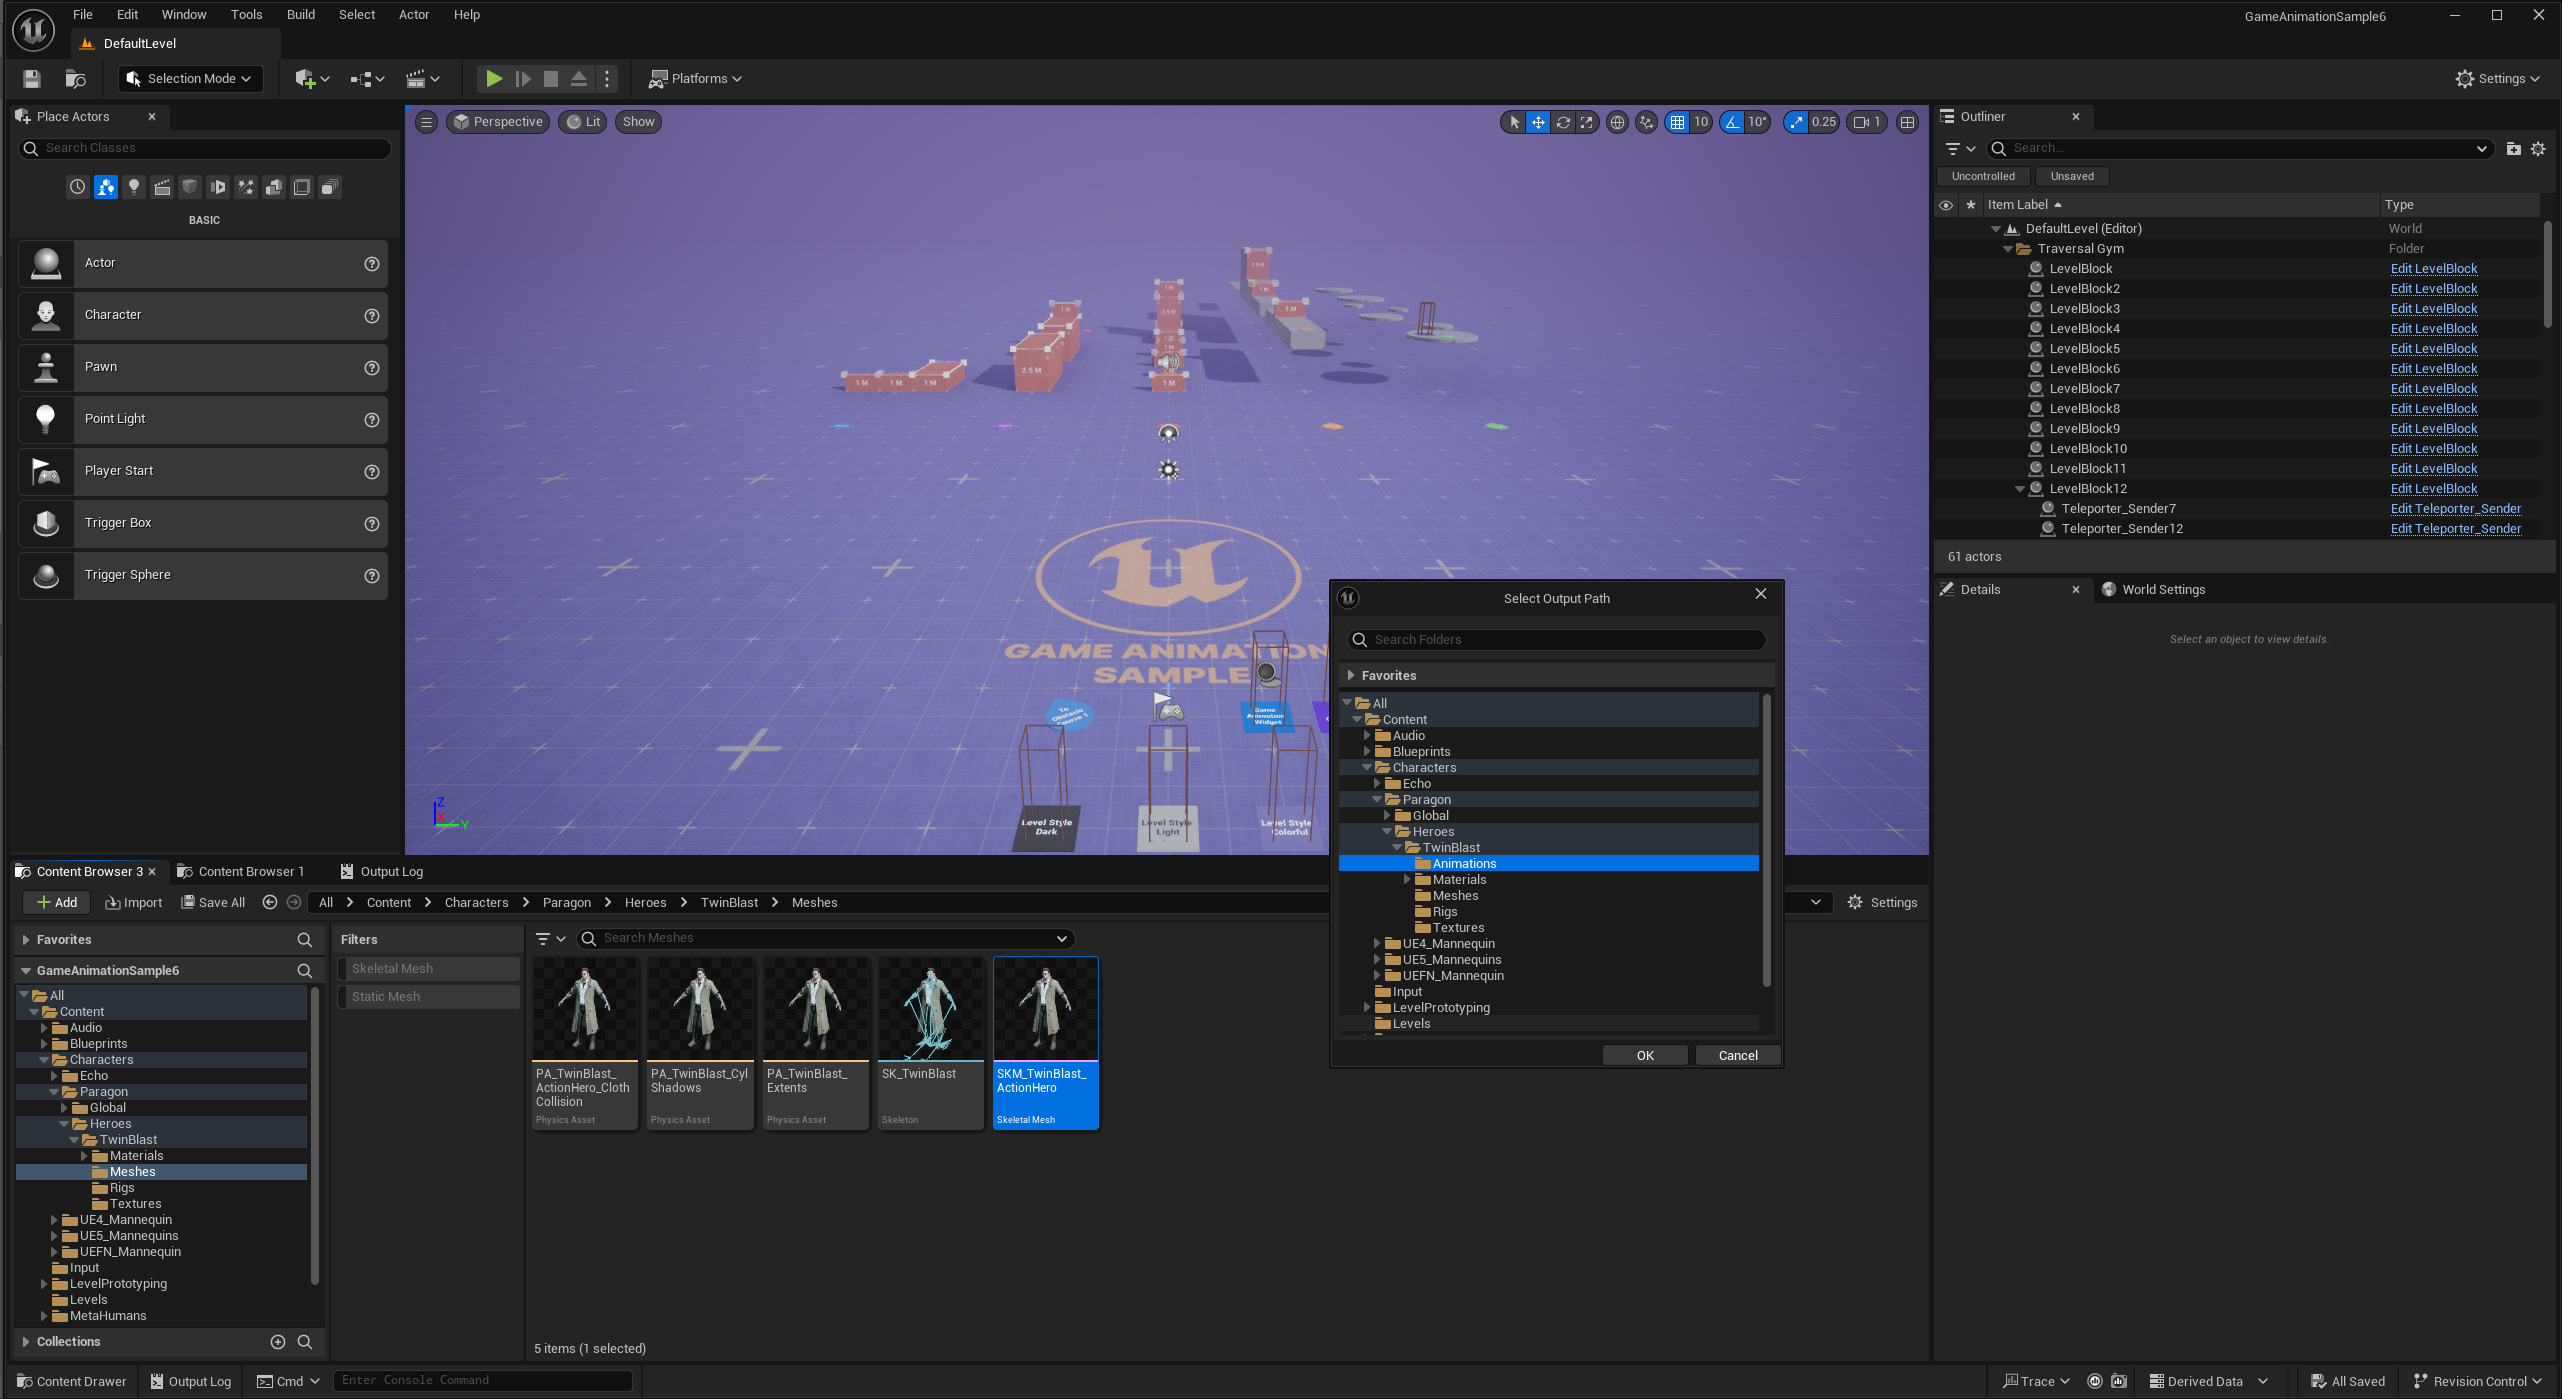
- After you click Retarget, another dialog will appear. This is where we'll select the output for the retargeted assets. I chose to create another folder inside the TwinBlast directory called Animations.
- After you click OK, you'll see a series of dialogs as the retargeting process is being executed.
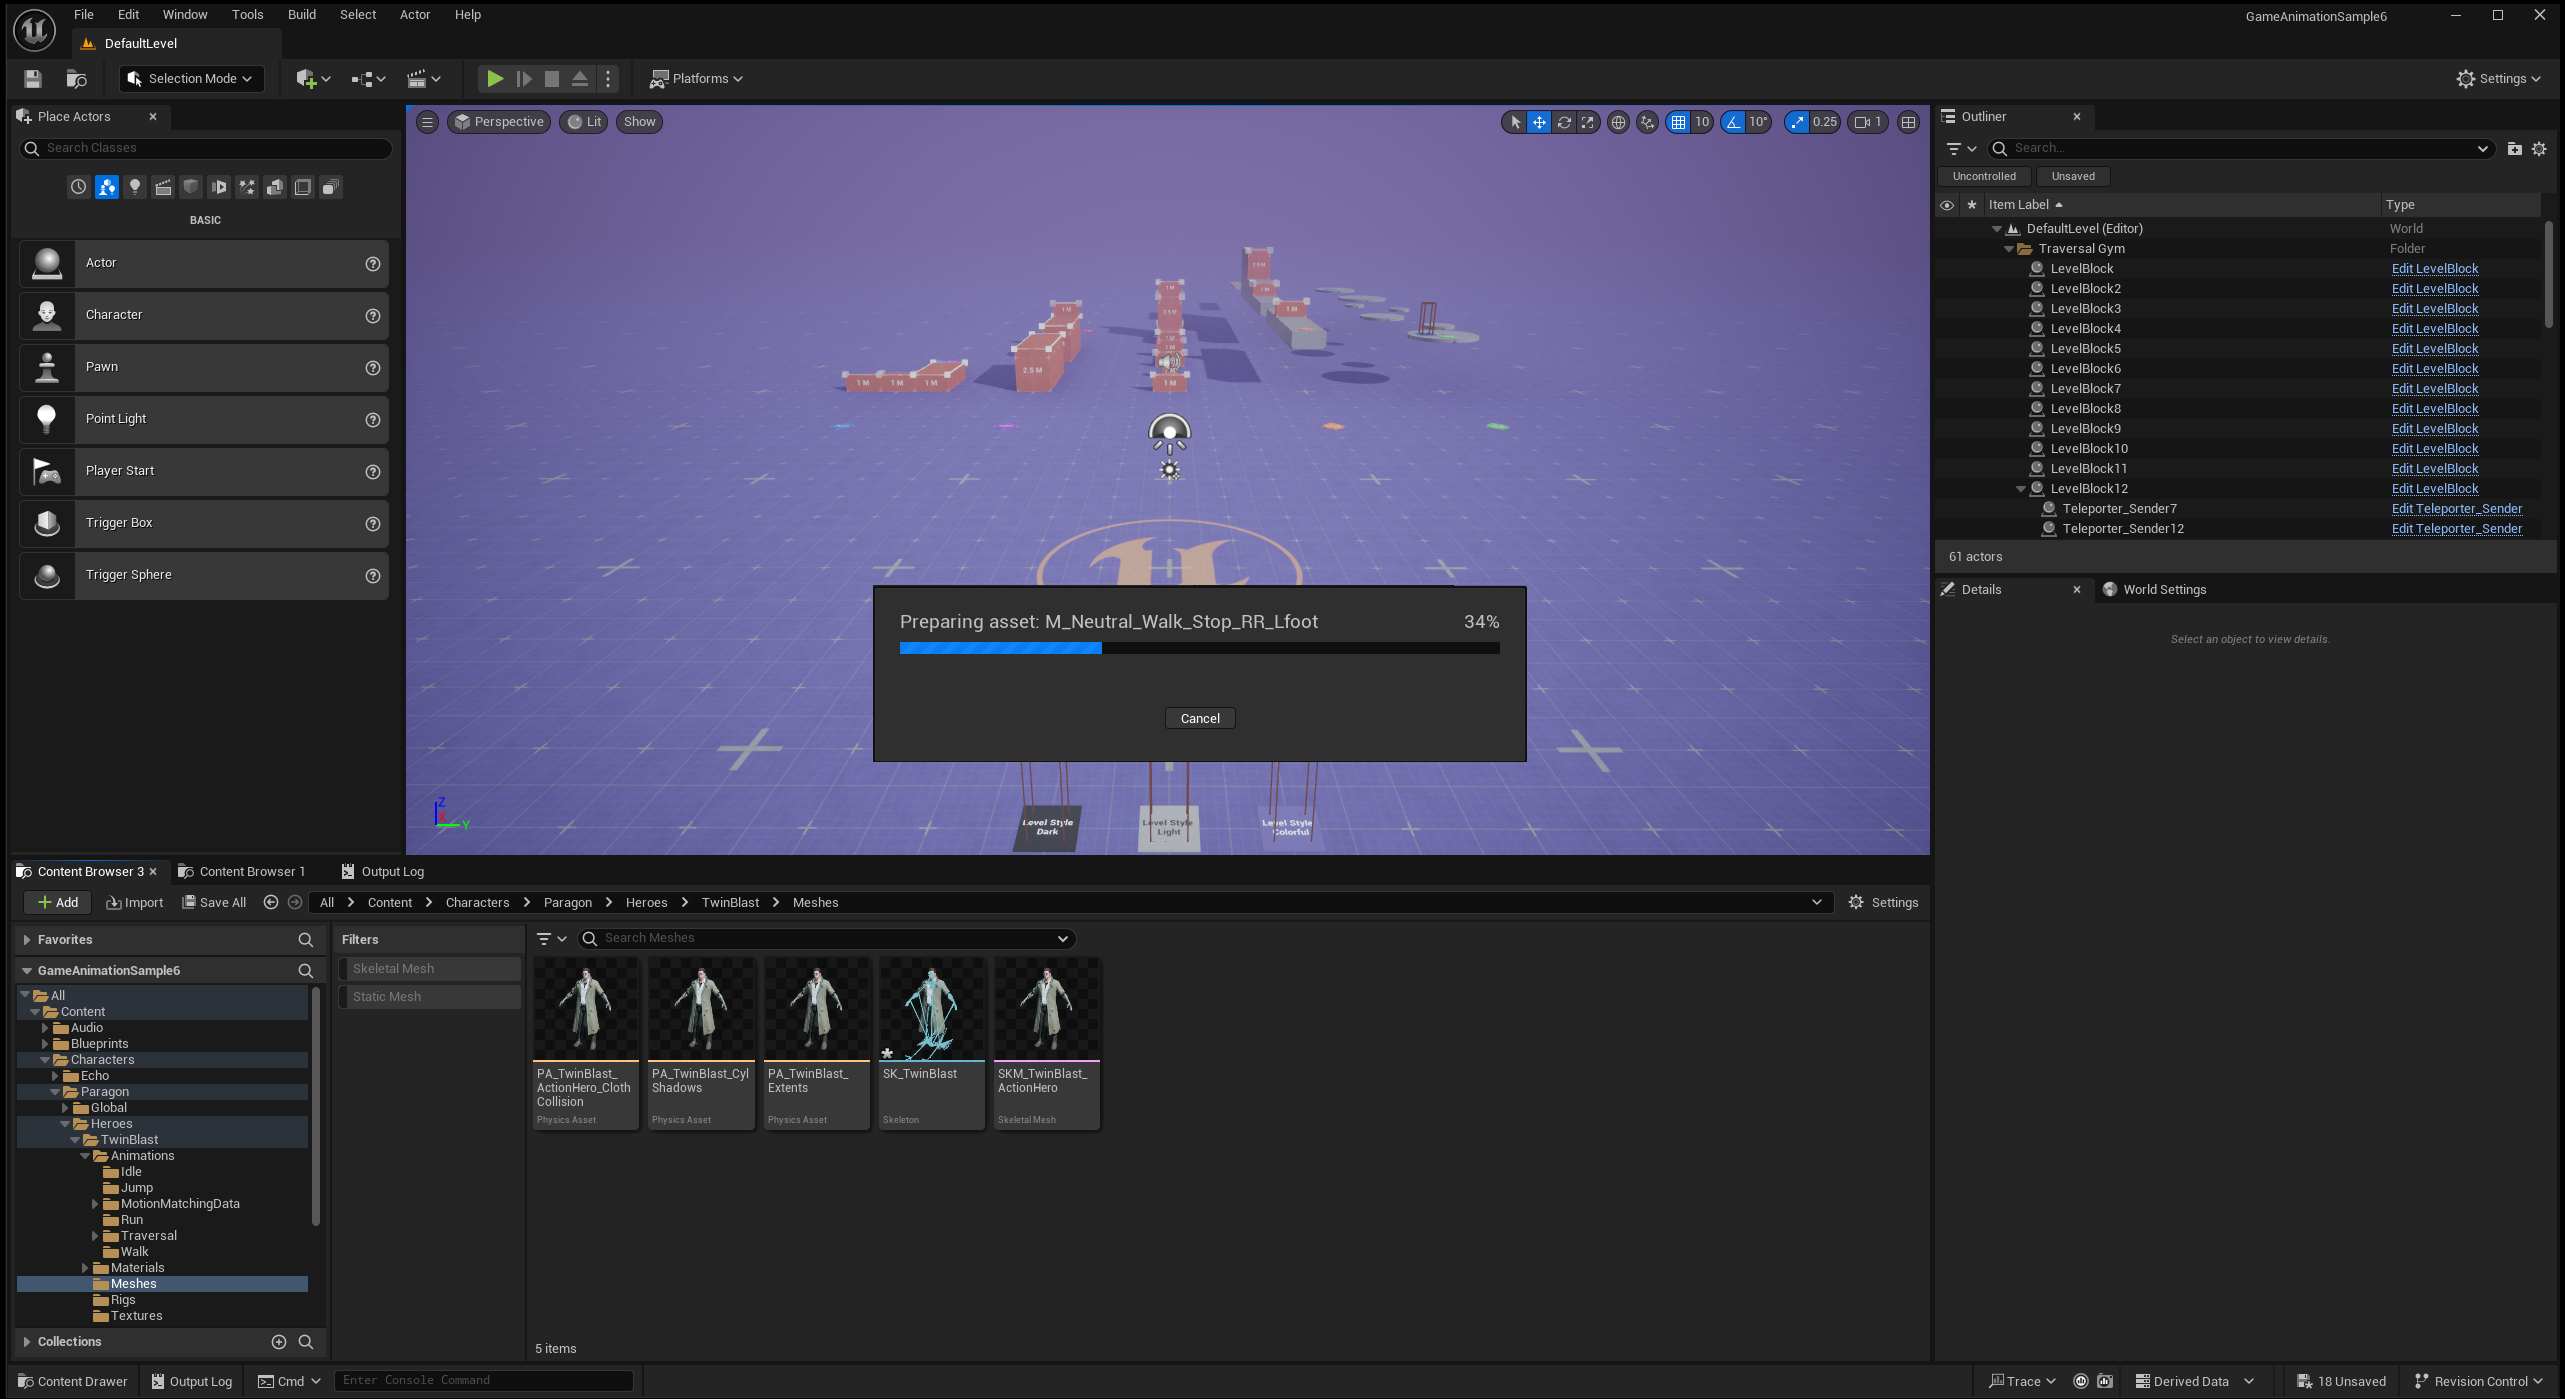
- After it's done (It could take anywhere from 45 seconds to 2-3 minutes depending on your hardware), it should take you to the output directory that you selected in a previous step with all of your retargeted assets.

- I always press CTRL+SHIFT+S to Save All right after, just to make sure there isn't anything left over. This concludes the retargeting process.
Testing And Refinement
There isn't really a one-size fits all perfect retarget for all models. Some models may need additional IK/FK tweaks in the form of a custom IKRetargeter asset. Creating that asset is beyond the scope of this tutorial for now.
However, if you're finding that the Traversal animations, particularly the Mantling animations look like the hands are "floating". You can follow these steps.
- Repeat the same retargeting steps from before, but don't click the "Retarget" button in the IKRetargeting/Skeletal Mesh selection dialog just yet.
- Instead, check the box "Only Change Offset", and input an offset value. Then click the "Retarget" button.
This will apply an offset to the attach bone that the Traversal system uses to sync the character to the proper position during traversal without running through the entire retargeting process again.
It may be helpful to use the Rewind Debugger during gameplay to record the skeletal mesh during mantling. Then with the game paused, move the character manually to where it looks right, to find the proper offset.